Authentication
This page will guide you through the process of having a user install an integration to Partly for your application. An example of the installation flow can be viewed this project.
Prerequisites
- Partly has allocated a client ID and client Secret for your application
- You have provided Partly with a list of authorization URLs that you wish to allow
Step 1: Request an access code
The first step of the installation flow requires the user giving their consent to Partly to provide your integration with an access code. To do this, you will need to create a link somewhere within your application to send the user to Partly's web app. The URL that they are sent to will be https://app.partly.com/auth/integration/authorize. Along with the following query parameters.
| Parameter | Description |
|---|---|
client_id | This is the identifier for your integration |
state | This is a string your app will generate and Partly will return alongside an access code. This value should be different for every installation request a user makes. In step 2, you will be required to check that when Partly returns this state value its the same as the one you provided |
scopes | This is the list of scopes that your integration wishes to receive access to. For now, this will either be ["supplier"] or ["repairer"]. For more information see Scopes and Permissions |
redirect_url | This is the URL that Partly will redirect the browser to after it has generated an access code. This must be exactly as provided to Partly during the client ID / secret provisioning |
In the example app we see this behavior implemented in the following way
// Environment Variables
const redirectUrl = ...;
const clientId = 'sample-integration';

// Frontend - There is a button on the page that calls the backend to generate the redirect to Partlys authorization page
document.getElementById('install-button').addEventListener('click', function() {
	window.location.href = '/partly/install.start';
});

// Backend - Generates the redirect URL to send the user to Partly's authorization page
app.get('/partly/install.start', (req, res) => {

  // Generate a random state parameter and store it with a 15 minute TTL
  const state = crypto.randomBytes(16).toString('hex');
  stateCache[state] = Date.now();
  for (const key in stateCache) {
    if (Date.now() - stateCache[key] > STATE_TTL_MS) {
      delete stateCache[key];
    }
  }

  const params = new URLSearchParams({
    client_id: clientId,
    state,
    redirect_url: redirectUrl,
    scopes,
  });

  const partlyAuthorizationPageUrl = `https://app.partly.com/auth/integration/authorize?${params.toString()}`;
  res.redirect(partlyAuthorizationPageUrl);
});
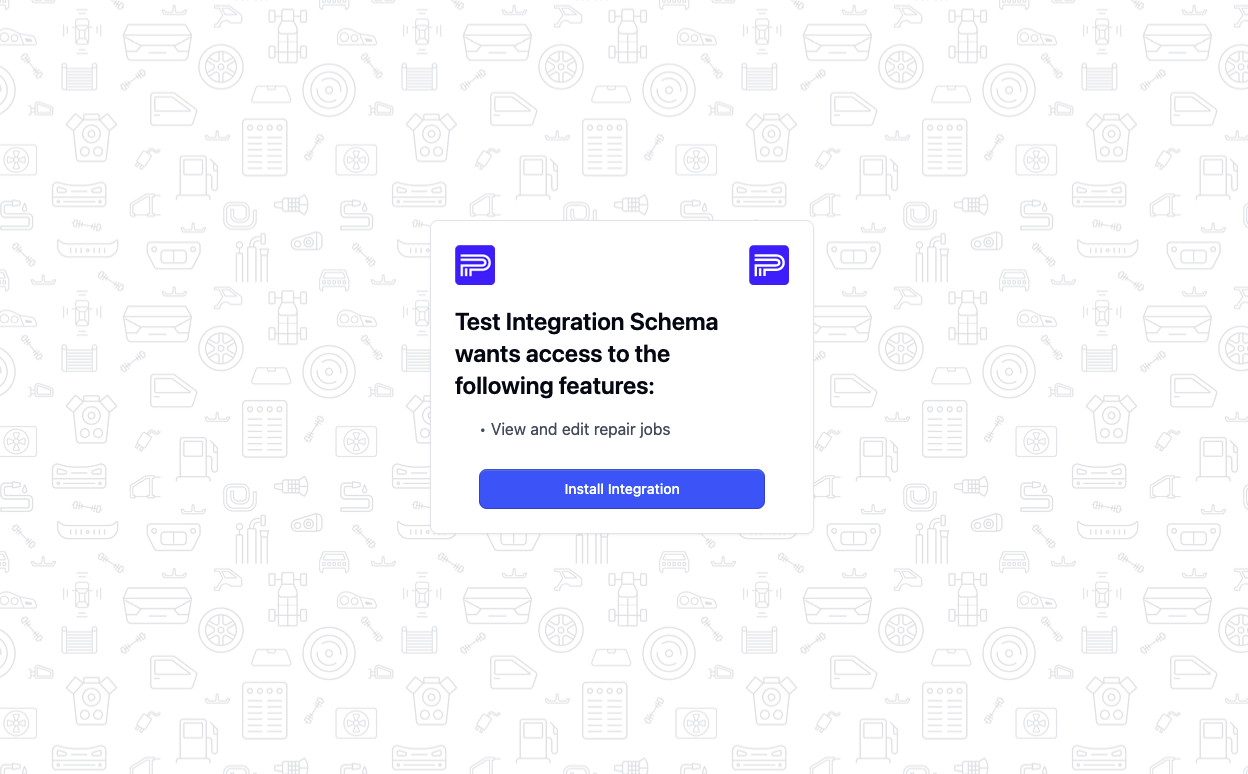
Assuming the user is logged in, they will see the page below

There is a known issue where if the user is logged in, Partly fails to redirect back to the authorize page after the user authenticates
Step 2: Handling Partly's authorization redirect
When the user is redirected to authorize the installation they will be required to log into Partly (if they have not already done so), as well as agree to scopes that your app have provided. Assuming they have met all the requirements of the scopes needed and have agreed, Partly will redirect the users browser to the redirect URL provided in the authorization request.
When Partly completes the redirect it will set two query parameters alongside the provided redirect. code will be the code your application needs to provide in exchange for an API key. state will be the state parameter you provided within the first step. You must check that this state value is recognized by your system, failing to do so would allow malicious actors to impersonate a Partly redirect to your application.
Step 3: Exchanging an access code for a long-lived API key
After validating the above criteria, the access code can be exchanged for an API key through the /api/2026-01/integrations.insert endpoint.
If the request is successful, the response body will include both the API key and the integration ID within Partly, as shown in the example below. The API key is associated with the organization that the user is authenticated into, not the individual user. It’s recommended that your integration’s API key storage and management strategy reflect this relationship. Once the API key is received, redirect the user to a success page within your application.
{
  "api_key": "partly_98435c2cd506b1b56a030ad9a7dbfb89b805e58d84bc49f459fc3fb1d484c0b7",
  "integration_id": "bedf3b61-b235-4c50-b0c3-482309a896be"
}
Step 4: Using the API Key
When making a request to Partly's integration platform, you will need to provide the API key and integration ID as headers of the request. These will look the same as below,
POST https://integrations.partly.com/api/2026-01/jobs.insert
Authorization: Bearer {api_key}
Partly-Integration-ID: {integration_id}